


+++ Now with paint +++
Things have been too quiet in the Silver Tower of Lord Heka and so I got back to work on my defiler conversion for my 8th edition Thousand Sons. I held off painting it for a while as I was going to do something new and didn’t want to mess the model up.

Fear the glowing eye!
You see normally when I highlight anything I go with a drybrush, it is easy and fast. But now and then you need to try and expand your horizons. As such the hightlights on the blue for this were all done by careful brush strokes. Not sure how much it has helped.
 Keep in mind this beasty is still a work in progress but let me know what you think. For some colour I also added some red to the cables on the legs and tail.


Sting in the defilers tail
What do you think?
Here is the build list update:
- Sorcerer Lord Heka, terminator armour: Built and base coated.
- Demon Prince, wings: Built and base coated.
- 5 Scarab Occult: Done.
- 10 Thousand Sons: Soul reaper to convert and paint, rest done.
- 10 Thousand Sons: Soul reaper to convert and paint, rest done.
- 20 cultists: Unbuilt.
- Defiler: Painting started.
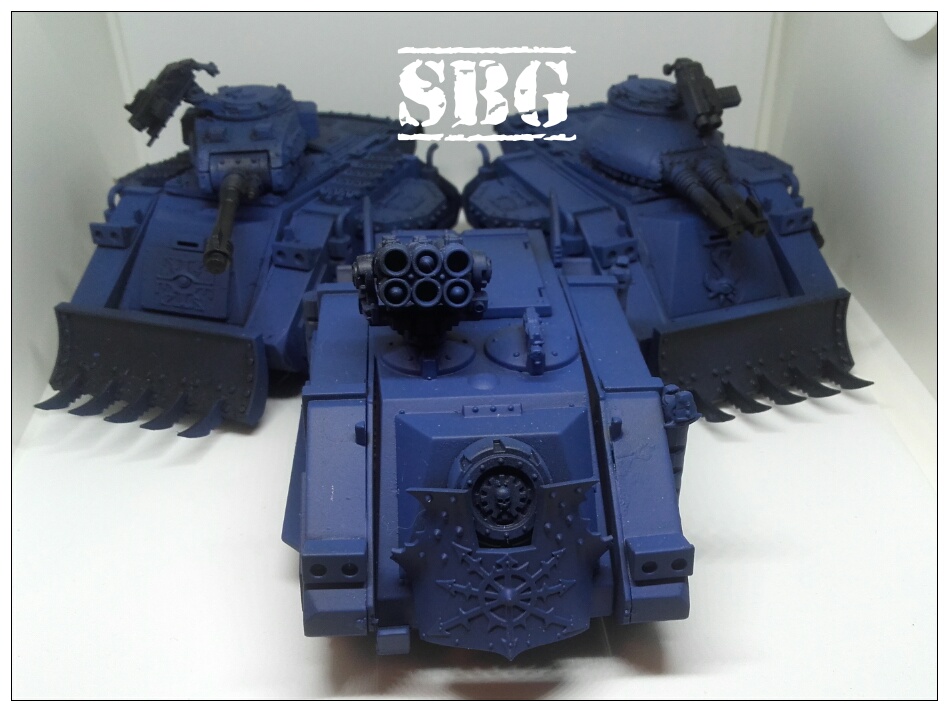
- Predator, all lascannons: Base coated.
- Predator, dakka: Base coated.
- Rhino, combi bolter, havoc launcher: Base coated.
- Rhino: Done.
+++
Don’t forget we also have a Facebook page for more updates.
Looking nice! I’m also giving drybrushing with a big brush a break and trying out reasonably precise highlighting for a couple of projects. A bit nerve-wracking at times, but so weit, so gut.
Also, hell yeah old-school Predators!
It is always nice to try out something new, plus you do good work normally. Sure it will work out.
Looking forward to doing the preds up.
Thanks for the encouragement. I think I set the bar kind of high wanting to be as happy with the paint job as I am with the conversion.
It’s looking great. The green glow gives some nice contrast too.
Edge highlighting is scarier than it really is. When you’re edging on a flatly painted surface like that, you can always fix it by using the base color and thinning out the highlight.
You don’t have to get it perfect the first time; I rarely do. As long as you highlight before you do things like weathering and such, it’s always an easy fix.
*checks the small weathering he did on some of the armour plates*
Yeah as long as I do it first…
Cheers. The green eye helps give some central focus. It isn’t finished yet though.
Awesome, coming along really nicely. All those tanks will certainly reap a tally on the battlefield 🙂
Leaves only the cultists foot slogging it 😉
Nice Rory! and way to try something new, the highlights look good and help the lines stand out. The OSL is a nice touch too.
Thanks Joe. I have been known to like my glowing green OSL.
Looking good man.. I’d add some black in the seams between the blue and brass.. . grime usually builds up in those areas. Adding some shadow will really make the highlights pop.
A pin wash sort of thing?
You could do either a pin wash if you want it thin or just a hit the area with some black wash and work it out a little bit to where you think it looks good. 8)
Shall give it a shot. The bronze trim needed going over anyway.
Cheers.
Highlights look good, about the right level of contrast for a piece this size. And in the line vs. drybrush highlight discussion, you will only start to hate yourself once you start two-brush blending. That is the way to damnation.