Hi all, Hogfoot here.
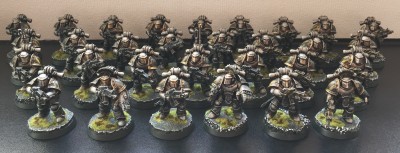
When Rory got in touch and offered to let me feature on his blog, it was initially my Horus Heresy Iron Warriors that caught his interest. Following my previous introductory post, I thought I would start by covering the first major project I completed for my army – the Tactical Marines.
Whatever I do in life, I like to finish the worst part first. That leaves me plenty of more enjoyable tasks to look forward to as motivation. Painting 30 marines in one batch seemed pretty daunting, and remains the largest single batch I have ever undertaken. Still, previous experience taught me that I wanted boots on the ground fast, the best way is to chin up and just get the buggers done!
The method used to paint my Iron Warriors is one I spent a couple of weeks researching online, reading forum and blog posts and watching YouTube clips. In the end, I had enough confidence to go ahead and finish a test batch comprised of five terminators, a dreadnought and a character – and (luckily!) it all worked out. The method itself is something I would like to return to as a proper step-by-step walkthrough in a later blog post.
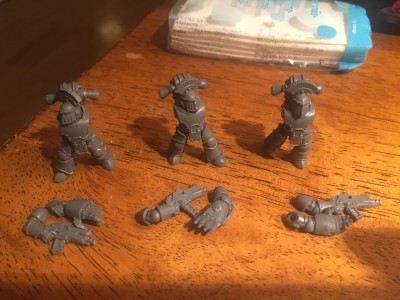
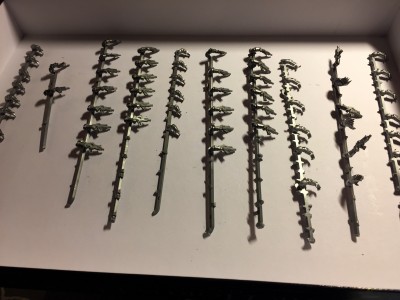
Starting work on what would become the backbone of my Iron Warriors, I chose the beautiful models from the Burning of Prospero boxed game. The mk. III ‘Iron’ armour looks amazing, and fits the brutal and gritty nature of the legion perfectly. Having cleaned the sprues using an old toothbrush and soapy water, I proceeded to cut out all the parts – keeping all the sets of matched arms well separated from each other!
Removing mould lines came next. This is time consuming and tedious, yet something I always do. For me, it is jarring to pick up a neatly painted model and see obvious mould lines ruin the impression.
To make the painting process easier, I planned to paint the miniatures only partly assembled. The bits I wanted to keep separate for the initial stages were the arms, guns and sheathed chainswords, so the legs, torso, head and backpack were assembled right away. Boltgun hands were glued to the arms, trusting the snug fit design by Games Workshop to keep the alignment right without having to dry-fit the pieces. Shoulder plates and chainswords were kept separate for now.
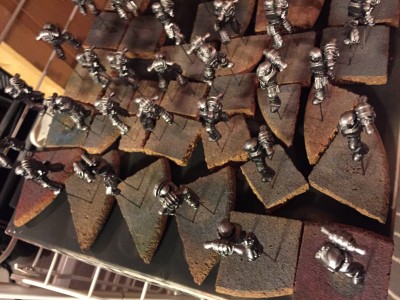
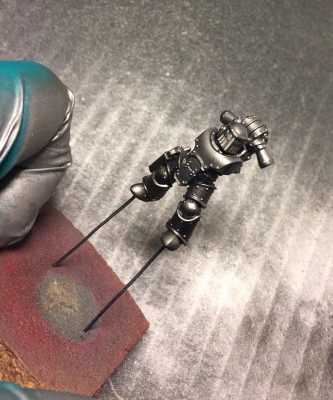
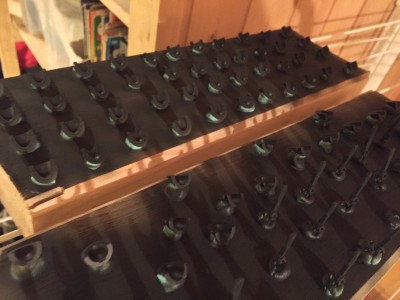
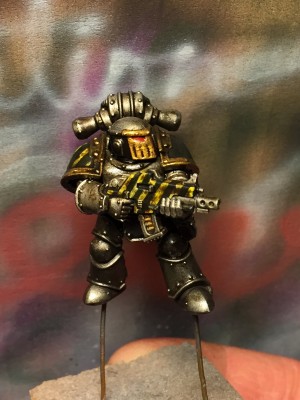
Work on the bodies started by drilling holes into the soles of the Marines, supergluing in straightened lengths of paperclips and individually attaching them to bits of cork. Using an airbrush, they were then primed, sprayed all steel and then had dark metallic and silver applied using the ‘zenithal’ method. The arms were plastic glued to bits of sprue in labelled sets, then airbrushed in the same fashion. Shoulder pads and chainswords were attached to a piece of wood using bluetac and then primed and sprayed dark grey.
Getting into the details
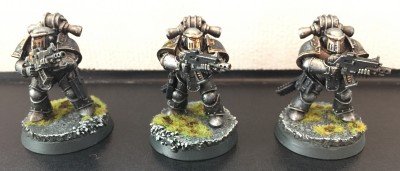
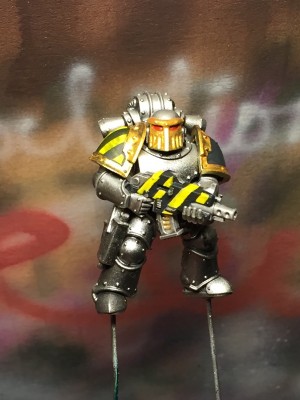
The next step was details. On selected parts of the models, I painted the trademark hazard stripes of the legion. The hazard stripe locations formed three different combinations, allowing me to distinguish the individual squads on the battlefield. One set of ten boltguns got this treatment, the rest were painted dark grey. Gold was applied to bolt rounds, face plate, shoulder trim and exposed power cable and grilles on the backpack. The eyes were painted red, though I have later moved all the work on eyes to the stage after work on the rest of the miniature is complete – drybrushing the armour means that work on the eyes has to start from scratch following this anyway.
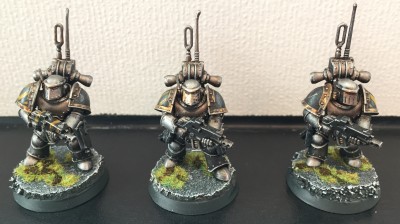
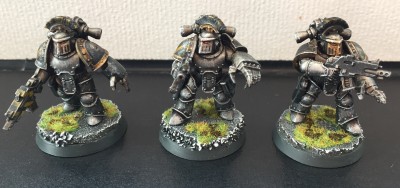
At this stage, the miniatures were assembled, carefully scraping paint off contact points as required to allow the plastic cement to bond. Chainswords remained off, though in hindsight I might as well have attached them at this point. Decals were applied, then the miniatures were exposed to ’magic wash’ and zenithal drybrushed with steel and silver to complete them.
Pistol holsters and magazine pouches were completed in dark grey, with a layer of ’almost-magic-wash’ and careful grey drybrushing to complete the look. Chainswords received the same treatment as the pouches, complemented with gentle steel-and-silver drybrushing. They were then superglued in place, as the attachment points were too tricky to scrape clean of paint in order to let plastic cement work. Eyes were finished, then all the miniatures got a layer of varnish before being attached to their bases, ready for the battlefield!
If you like my work, feel free to follow me on Twitter (@Merrexz) where I post images of my finished projects.
