


I originally got into Warhammer when I was a teen, collecting White Dwarf in the late 1980s, playing 1st edition 40k, Epic, and Fantasy Battle. I favoured RPGs and board games as time went by, somewhat unable to keep up with the cost of wargaming, both in time and money. Over the last few years, I have happily ventured down the rabbit hole again, leaning mostly, but not solely, into 40k.
I started painting during COVID, when time seemed more available, if somewhat surreal! It seemed an ideal lockdown project and allowed me space to exclude the perpetual background noise of anxiety, even just for a while.
A couple of years in, I have a lot done, a hell of a lot more to do, a painting area, kit, paints, a developed enjoyment of painting minis, and a desire to paint more. Over the couple of years, I’ve a learned a few things – some the hard way, some through the generous advise of others, and yet more through blogs like this one and viewing the many YouTube videos on the topic!
Hopefully, if you are starting out, you might find these useful. If you are experienced, you might at least find them nostalgic, humorous, or even, dare I say, mildly thought-provoking. I hope it will, at least, be a little different from a lot of the mini introductory guides out there (which are well worth a look).

1. Know why you are painting
May seem like an odd question, but it is, I feel, an important one to sustain your continuance in the hobby (not that there is anything wrong with trying an quitting, but, you know, I think it gets more fun as you go on).
I am not a very good painter. Sure, I have improved a little over the last 2 years, but being good is not why I personally paint minis. I do it to allow myself an hour or so at a time where I can focus to the exclusion of the things – kind of like a meditative exercise, I suppose. I am not going for any Golden Demon Awards, that for sure. Yes, I want them to be presentable on the table when I game, but my friends are not going to be looking for the small flawed detail, or criticise a missed highlight (if yours do, I’d consider raising it with them, or getting better friends).
Do you want to get your stack of minis finished? Commendable, but you’ll probably always get more, but you can still start.
Do you want to be a great painter? Go for it 100%, learn, read, make mistakes, paint, paint, and paint. The core of this point is one can get caught up on not being a great painter from the outset, or making too many mistakes, or just not being good at it. Reconciling why you are doing it and knowing you can improve can help and mitigate against giving up the hobby before you really start. And it’s worth saying that I have yet to see a painting mistake on a mini that can’t be fixed.
2. Don’t compare your painting to others
Following on somewhat from the first point, and something I cannot emphasise enough – don’t compare yourself to other painters. Ever. Be they good or bad. Whether in private or publicly.
And it’s not about knowing your won level – that’s fine. But there are some truly epic and talented painters out there and it you find yourself comparing your offerings to those painters – especially in the early days of your painting – you may feel disheartened. Getting through this is partly understanding why you want to paint in the first instance – if you want to get as good as they are, by all means learn from them and aspire. But don’t let anyone’s talent stop you from painting.
Conversely, if you are an expert painter, please be kind to those starting out. As in most things, offer advice only when sought as sometimes, even with the best motivation, it can leave a starting painter feeling inadequate. If asked, share your knowledge, but never accept the other person to arrive at your level if that is not there goal.
In my view, any kind of comparison is ultimately to the detriment of progress and enjoyment when if comes to painting minis.

3. Get the right gear
There is no way around that fact that this hobby costs money. There are a range of brush types and makes out there that are equally good and on a sliding scale of cost but I urge you to get a range of sizes and get the best you can afford. It will make your painting a lot easier and serve you better on the long run.
Similarly, get a good quality craft knife, good quality sprue snip for taking minis off sprues, and good thin needle files for removing residual mould lines and remaining bits of sprues. These are, I think, the core tools where quality will pay for itself in the hobby.
There are a lot of other useful tools, like wet palettes, drills, magnifying lenses, mini holders, special mould line removers, but you can pick these up as you go along. Starting out, a tile or old plate can work as a palate, and an old cup as a brush cleaner (make sure not to mix it up with your cup of tea or coffee).
Lastly, it really helps to have a dedicated area, not only because it will eventually get covered in paint and left over basing material, but also as I feel a dedicated space helps you focus on the hobby. As with any seated work, make sure the chair supports your back (you will inevitably be doing a lot of bending forward to look at your mini), that the area is well ventilated and warm. TV and music to your own taste! Invest in the core tools, but don’t worry about having to get everything before you start.
4. So many paints!
There are a lot of brand of paints out there, the main ones being (in alphabetical order) Army Painter, Citadel, and Duncan Rhodes. I am not going to recommend a brand as they all have their strengths and weakness, but I will say two things – don’t be afraid to try different brands, even on the same mini; and use paint for miniature painting and don’t buy general art store acrylics, Dulux emulsions, etc. Mini paints are designated for minis.
There are also lots of types of paints – it is well worth trying both spray undercoats and thin paints undercoats to see the different textures. Learn about the approach of undercoat-layer-shading-drybrush-highlight and the different paints you can use at those times, both in type or colour. I think this approach is key to good quality output, whatever your level and motivation.
Get some contrast/ thin coat paints, or water down paints heavily and experiment with those and see how they settle into the shape of your minis. These type of paints can often help if you have trouble with paint consistency of using to much or too thick paint.
I’d advise trying everything, and maybe on a few minis you might have spare (you can always strip the paint or re-base coat and there are good tutorials available online about that). There are even some advances techniques like wet-blending, which scare me, but try it all. The only right way is the way that works for you to achieve the look and feel that you want.
5. Clean your minis when assembling
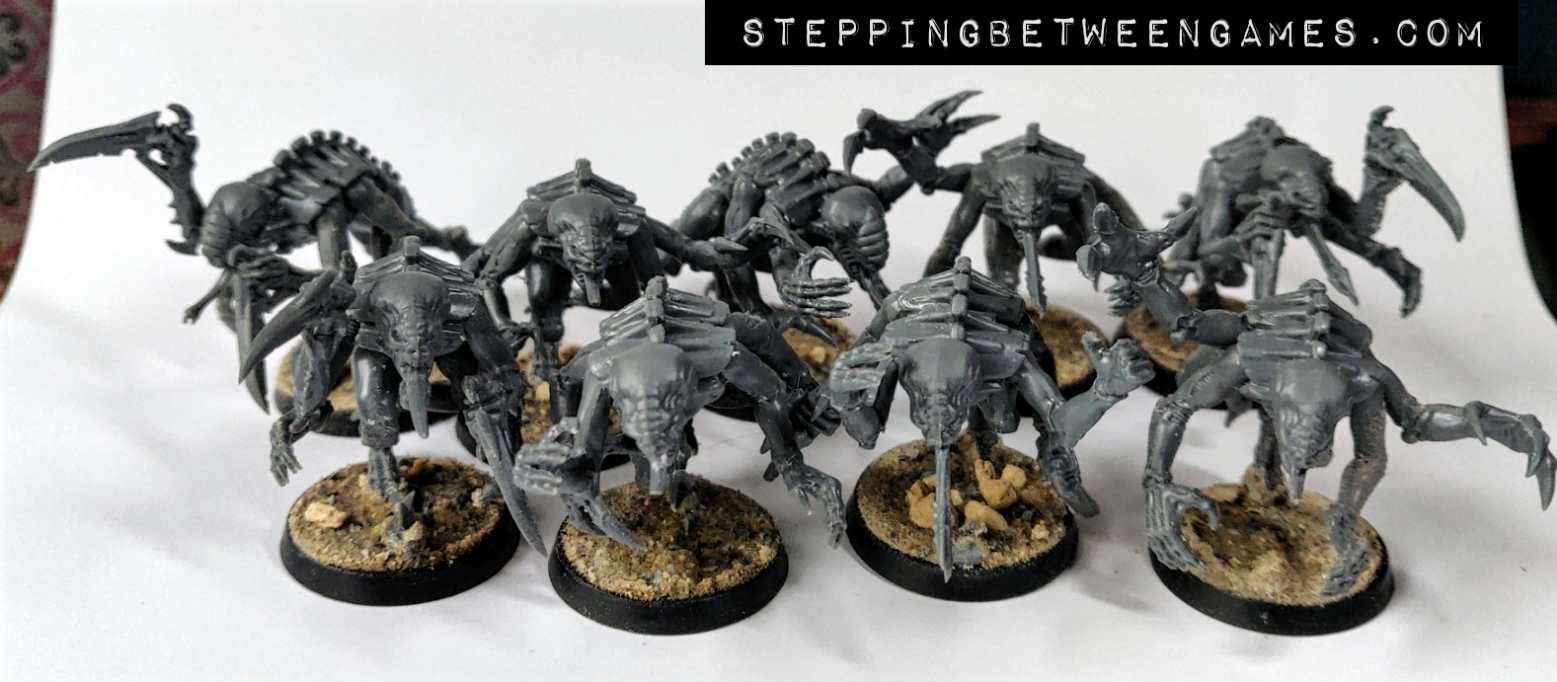
Most minis come in sprues and have to be cut from them prior to assembly. Also, many minis have thin lines of additional plastic or metal over the lines of the mould, left over from the manufacturing process. Both is these issues can leave additional lumps and bumps of plastic or metal on your mini which are not part of the sculpture proper and should be removed before painting.
A good sprue cutter will help, but it can still leave a bump or two, especially where they angle you have to a piece cut from the sprue is awkward. Thin needle files are great for getting these lines down to smooth against the miniature sculpture. Test the smoothness with your finger as it may not look pretty (but you will cover it with paint, so not to worry). What is key here is be careful where you file! Sometimes, you’ll be filing a bump close to another part of the miniature – take care to only file the necessary part!
There are special tools for dealing with mould lines. But a sharp craft knife can work – just be slow, careful and, above all, a light touch. Try not to gouge or cut into the miniature.
Cleaning the mini like this matters before painting, not just to remove access bumps and lumps, but also as any bumps will likely be highlighted through dry brushing and shading, so it will likely appear very noticeable.
6. Spray undercoat doesn’t always cover
In the early days of my painting, I would spray undercoat, leave to dry and then proceed to my second stage of painting (which is usually layering, but I went for a quick drybrush before layering to tone down the undercoat colour). However, I noted that there were some parts the spray didn’t hit – which is understandable.
One option here is to let the mini dry and then respray the missing parts. But sometimes, this could result in too thick a layer of undercoat which can obscure the mini’s details (this is also true if you spray in a continuous flow as opposed to short, sharp bursts).
However, if the bits not coated are small, I found that touching up with thinned down paint and a base brush (or any brush, really, but I find a brush with a flat edge can help) works a lot better and allows you to blend the paint with the spray. Sometimes I have found that the paint pot colour can actually be slightly different that the spray colour, but personally I don’t worry too much about this if I am layering or dry brushing over. If this is an issue for you, you might to consider a separate focused spray.
It’s important that the full mini is covered so that any further layers you paint over stick properly and evenly to the mini.
Quick Tip: Be careful on what surface you leave the minis to dry. I find wood or tile is good. Paper or cardboard can stick in bits to the wet paint and can be difficult to peel off before painting and, when you do, leave uncoated spots!

7. Thin your paints
When I started, this confused me. I read about a “consistency like milk” as the ideal paint feel, and this confused me more. What I learned is that thinning you paints is vital so you don’t end up with thick globs or an over-thick coat obscuring details of the sculpture.
Some of my initial models where I didn’t thin the paint look bulky and blocky and didn’t take the dry brushing or highlights as well as other minis. I was surprised at how much un-thinned paint negatively impacted on the mini’s end look and feel. The easiest way I learned to thin my paints is as follows: 3 touches of the tip on the brush to the paint pot and onto the palette and two touches to the surface of the water and into the paint on the palette. That seems to work for me and works no matter what the brush size – just be sure it is only the tip of the brush your are dipping.
My method is definitely not quite as thin as some contrast paints or pre-thinned paints, so maybe I could thin it more, but I think it’s a good way to at least control the volume of liquid you are applying, be it paint or water, and small quantities are often best. It’s also a good wat to experiment with consistency depending on the level of detail in your mini. As long as the pain sticks to where you want it and doesn’t drip off, form a liquid glob, or pool in the recesses of the mini – that’s too thin!
Don’t worry if you can still see some unwanted undercoat shade through the layer you have applied – to ensure the mini sculpt is clear, a second thin coat serves much better than one thick one.
8. Take. Your. Time.
Painting minis is not a hobby to be rushed. In fact, the slow, thoughtful, methodical pace is one of things I particularly enjoy about it. That doesn’t necessarily mean that you have to set aside 4 hours in 1 evening to paint. Even if you only have 30 minutes, you can get some work done, or a drybrush, or some work on the base of your mini. It’s more about, with whatever time you allot, that you take your time in whatever painting project you are doing.
It doesn’t work to throw paint at a mini – make sure you have a steady platform, make sure the painting is as accurate as you want it to be, and take your time with each application of paint. You’re not in a race to completion and, even if you are working to a timetable, there is nothing to benefit from a rush job.
There are ways to paint faster – like an assembly line approach where you base coat a bunch of minis, let them dry, apply the first layer to the same bunch, etc, etc. But when you painting a mini, focus on that particular brush application, and take time applying it. You might get faster over time while keeping the same accuracy – I have yet to find that space, but I am happy to take the time and the result are better than any time I have rushed it.

9. Dry brushing rule of thumb
Oh boy, did I wish I knew about these 2 things earlier! For a long time, I could never get the amount of paint on my brush for dry brushing correct. Drybrush is a painting technique in which a paint brush that is relatively dry, but still holds paint enough to allow it to lightly coat any bumps or raised areas in the mini.
It’s a really quick, neat, and effective way of applying highlights. Until even relatively recently, the first drybrush I applied was too heavy and almost applied a thin layer of the colour I just want to use as a whispered highlight. The 2nd or 3rd surface I applied it to was about right, even though it looked like there was almost nothing on the brush.
Then I learned the Rule of Thumb. When you think you have taken enough paint off your dry brush, paint your thumb. If paint comes off, then the brush is not dry enough. If no paint comes off, the correct amount of pigment remains and you can start dry brushing. This tip made a world of difference to me. The second tip is to try to drybrush in a circular motion, that is doing circles with the brush itself. This really does help in terms of picking up raised surfaces evenly and consistently and produces are far better effect that my earlier effort of straight dry brushing.
10. Stability and breathing
My hands are pretty shaky and I find it almost impossible to paint eyes, marine visors, or add fine details like writing scrawls to books – it also makes free hand patterns out of my reach (transfers are my friend here).
It helps to stabilise your grip. This may take a lot of twisting and turning to get the right body shape, but a few basics apply. Sit in close, touching the table if you have to. Elbows on the table, or pressed between your body and the table edge. Link your hands – I usually do this by entwining my little fingers, so my hands will at least shake in unison! Wait until your body stops moving and paint – I often find it useful to hold the paintbrush like a pencil for very fine detail. And, of course, used as small a brush as you can.
Another thing I have learned – and it seems odd to type it – is breathing can effect the body position for fine painting. I am not saying hold your breath (though some painters do), but maybe wait until the exhale happens then do a stroke of the brush. Take the brush away, inhale, exhale, and another brush stroke. I was genuinely surprised at how much of a difference this makes.
11. Maintain your gear
As I mentioned above, this hobby does have a financial outlay, and some of the higher end gear can be quite expensive. It’s important, therefore, to mind your gear. Clean your sprue snips with a dry cloth after use. Small metal brushes (like the ones golfers use) or a tooth brush will clean your needle files well. Wipe craft knives with a dry cloth (never a wet one) after use.
Always store your brushes brush side up and use brush covers if they come with them. Also, when dipping paint, make sure you only use the tips of the brush – getting paint where the brush joins the handle damages the bristles. When rinsing your brush, never leave the brush in the water and never press the brush against the bottom of sides of your water pot. Shake it in the water and dry it on some kitchen roll as often as you need to instead. Invest in a pot of brush wax as it lasts a long time and is only for occasional use. This may seem a lot, but given some brushes cost up to €65, it’s worth maintain them.
When a brush does split can cannot be used for painting, don’t throw it way – it can be used for applying glue to bases, or taking paint of out a pot onto a palette to further protect newer brushes, or a host of other things.
Finally, protect the minis you have painted – store them safely or shelve them behind a closed door to stop dust. Handle them with care and don’t be afraid to touch up spots with fresh paint every so often. If you are inclined, varnish them with clear varnish (I personally don’t like the look this gives, but I use things like Citadel ‘Ardcoat to apply a soft glow to an area when I want one). Whatever happens, minis can always be repaired.

12. Finishes & little touches matter
What do I mean here? Make sure your bases have something on them. Sure you can invest in stick on bushes and skulls and all sorts of basing material, which works really well. I went to my local garden centre and picked up 2 huge jars for ultra-fine gravel dust for a fiver and tiny fish tank pebbles from a pet store for extra interest. A quick shading and dry brush and I think it looks really well. I do have some bushes for officers and heroes! You can also get technical paints which harden and give texture.
Also, make sure minis from the same squad have mostly the same basing material – it can add to a feel of cohesion. But, basically, a mini with some coating on the base looks so much better than blank ones. Also, if you are like me and your undercoat is something other than black, make sure you paint at least the sides of the base black as they were originally – it looks better on the battle field.
Every mini painters ends up with unused bits (a bit box) – feel free to embellish. Add that spare marine head on its side to an Ork base, or strap a spare bolt pistol to a marine’s leg. Spare bits as extra embellishment can take your mini to a new level of impact
Bonus item: Enjoy it!
The most important rule. If you find your enjoyment waning, step away for a bit and reassess why you are doing it. If you try it, and it’s not for you, no problem! Hobbies often ebb and flow with their level of interest, so paint what you want, when you want to, and how you want to – as long as it keeps being fun.
Good write up Colm, thanks for taking the time with it.