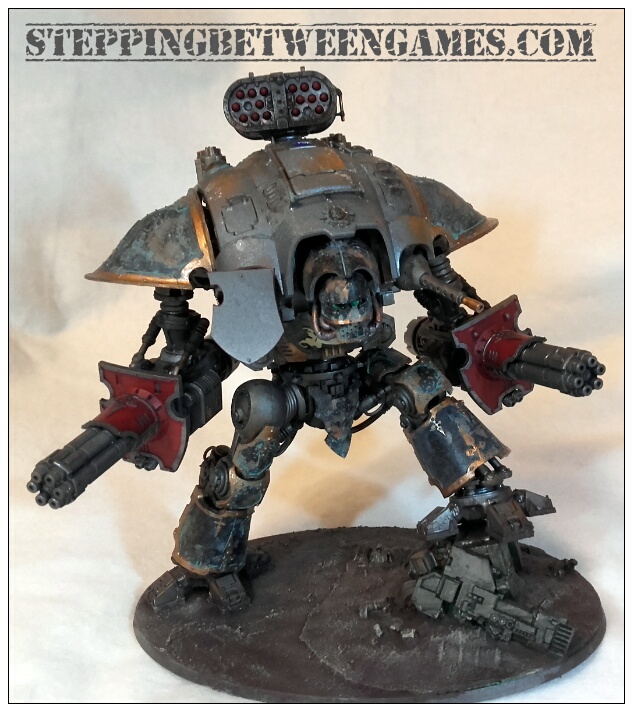
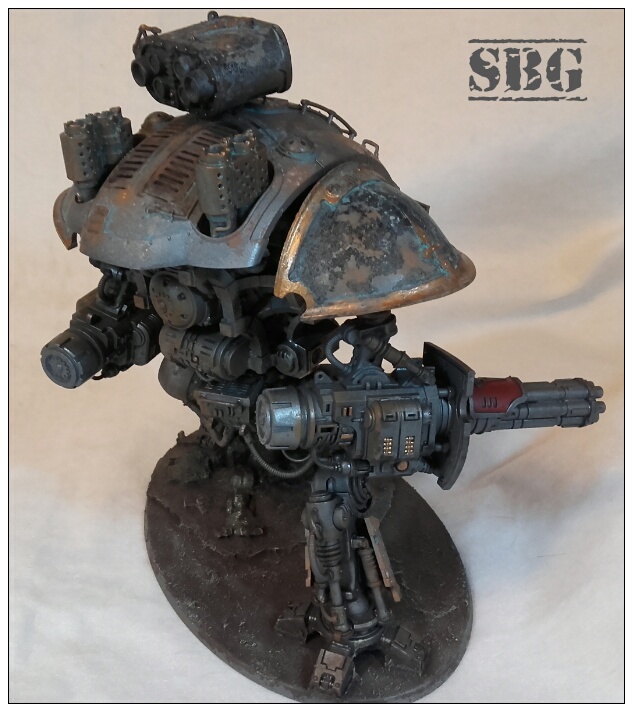
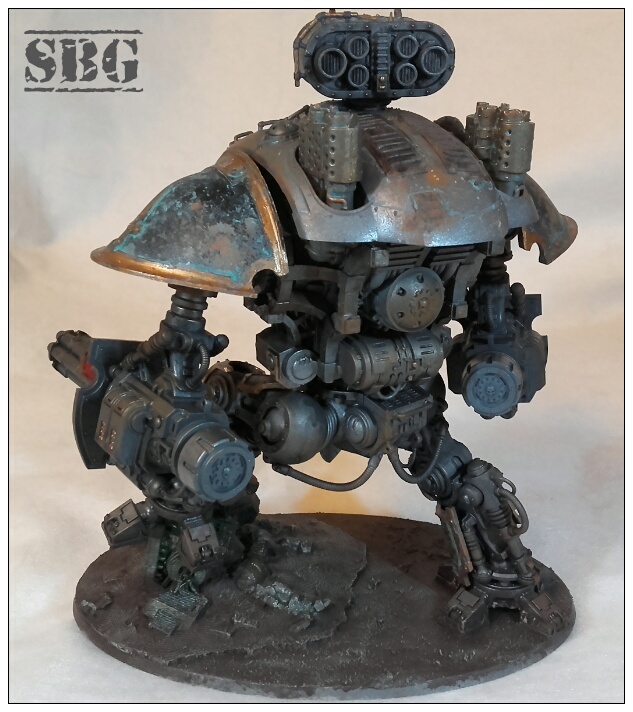
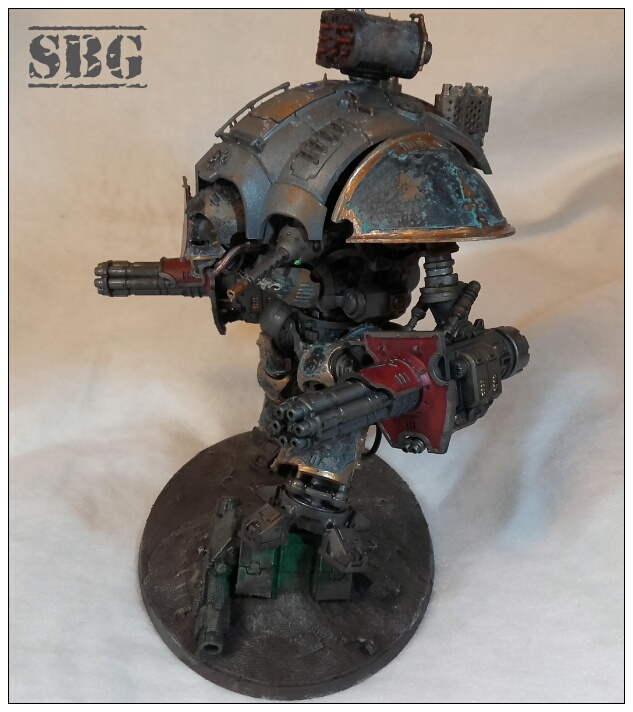
Time to roll out the big guns, a pair of very big guns. Avenger Gatling cannons to be precise and two of them! The renegade knight can double up on its gun choices, never sure why it can compared to the loyalist versions.
So I went with a really battered looking version, this Knight gets repairs when and if it can. Although this being my first plastic knight I didn’t give it any actual damage to the model. Just the aged and worn look.
The process was:
- Gun metal spray
basecoat
- Stipple browns in sections
- Selected orange stippling, mainly over the brown
- Spray with water, apply sea salt and let it dry
- Undercoat black on sections
- After that dries knock off the salt
- Tada battered look!
Both weapons have only barely been started. I need to remember which blogger did a post on heat treatment of weapon barrels. Any thoughts?
But there you have it, things are coming together. Not sure what to do on the energy shield yet. Might try tie it into the red on the weapons.


Looks absolutely gorgeous, bud.
I look forward to seeing it finished.
Have you named it?
Hopefully get it finished over the Christmas break.
No name yet, still pondering that one. Any thoughts?
That’s looking sharp! I tend to refer back to the post on From the Warp below for heat bloom:
http://fromthewarp.blogspot.com/2011/09/how-to-paint-heat-stained-gun-barrels.html
Beat me to it. I copied Ron’s tutorial too. Easy and quick.
Cheers.
Thanks for the compliment and the link! I will have to look into that next for sure.
Looking cool, mate! The rust is spot on.
Will you do some heraldry on the shield?
He’s looking great. The weathering is coming along nicely. I’ve never done the salt weathering. May have to try that at some point.
Fully recommend it to at least try. Great fun.
Looking good! Maybe do a few spots where the rust/verdigris has been knocked off down to the clean metal by more recent shots? Or a couple of panels of armour that are actually clean and properly done, because they’ve been replaced recently?
This post doesn’t go into technique as much (the From the Warp one is better for that), but he looks at examples of heating in real guns, and concludes that the discolouration should actually be at the breech end of the barrel, not the muzzle: http://tibbsforge.com/heat-stained-metal/
Cheers West I was trying to remember who the other person was, Tibbs!
Still more to do on the armour. Thining of running red across the top of the carapace.
Where’s that dread from?
Old FW kit they used to make of a ruined dread.